Sunday, December 14, 2014

Mini Chicken & Waffles


These mini chicken and waffles were an absolute hit at our annual holiday party last night (the iPhone pics don't really do them justice)... The chicken was crunchy and flavorful, and the waffles were buttery and delicious.

The recipe comes from one of my favorite lifestyle websites, PureWow. They send their newsletters weekly, and they're filled with fun tips for everything from cooking and fashion, to home and travel. Sign up. You won't regret it!

The full recipe for the chicken and waffles can be found here... We used the PureWow recipe for the chicken, but actually went with a different recipe for the waffles. This recipe from Taste of Home for Belgian waffles is our house favorite (a-m-a-z-i-n-g), and I couldn't bring myself to try a different one.

The yummy vehicle for the chicken
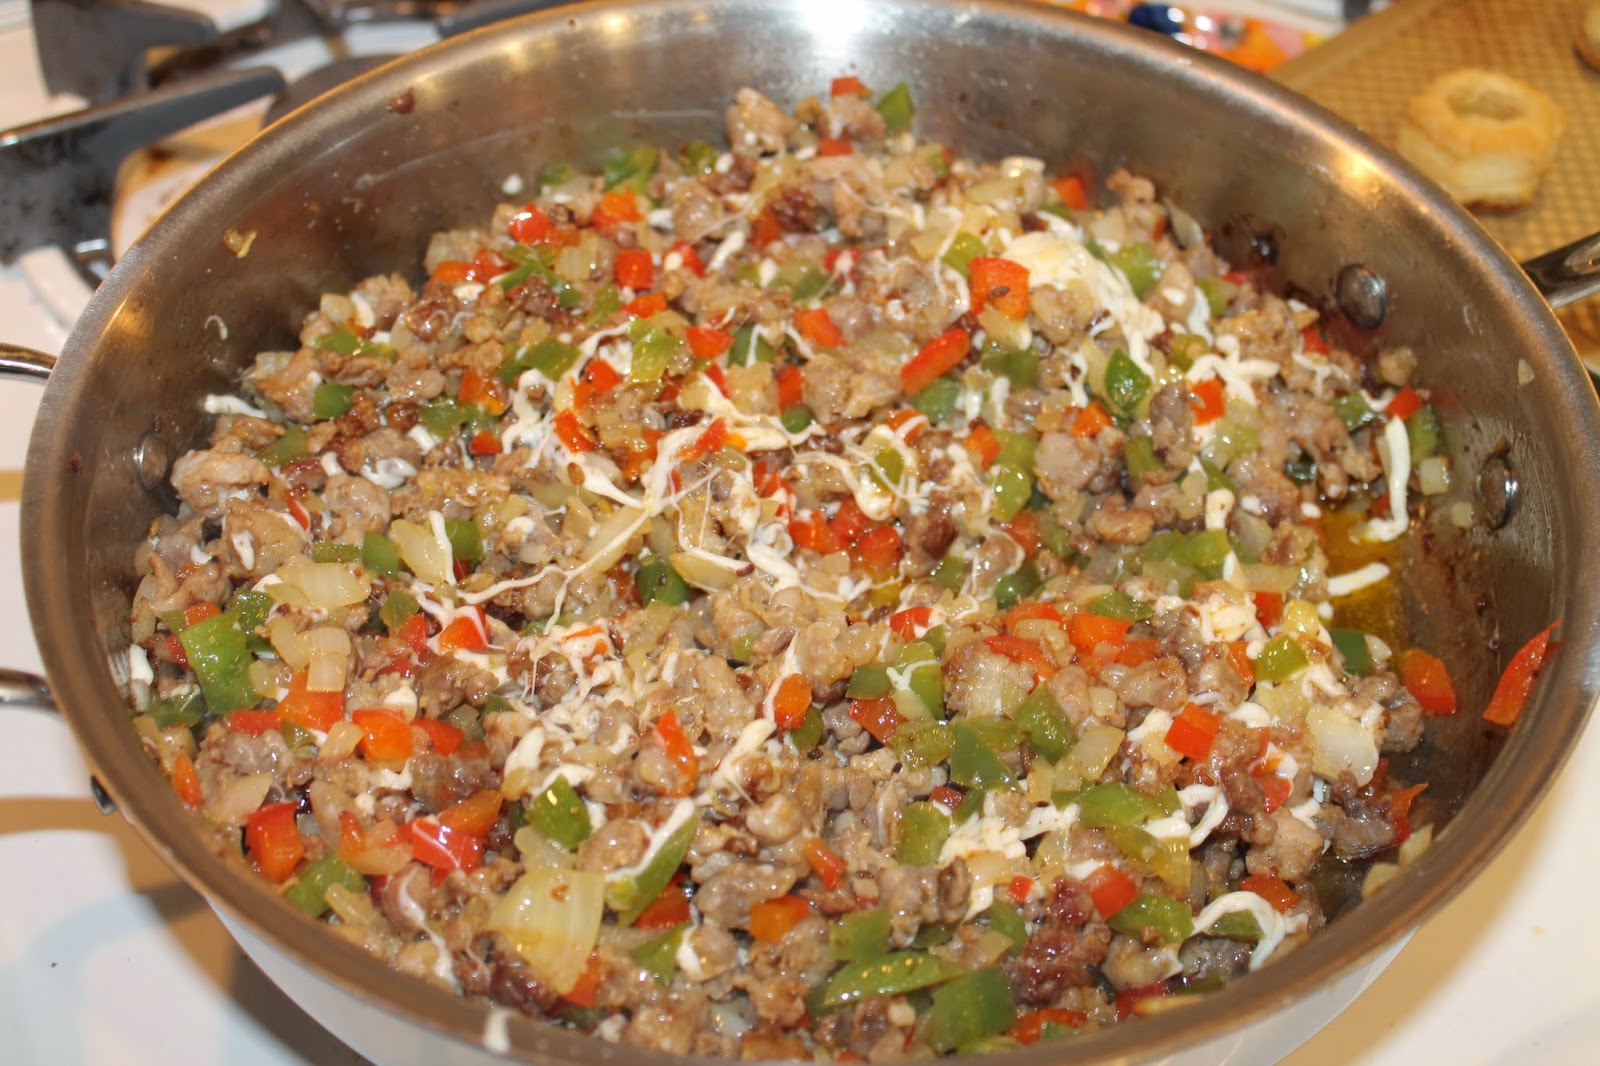
Deep-fried goodness

Since we didn't want to deep fry during the party (who wants oil all over their outfit? not this girl.), we made the chicken and waffles ahead of time, and then toasted them in the oven a bit before everyone arrived so they were warm. Just be sure to put the chicken and waffles on a cooling rack and allow them to completely come to room temperature before setting aside... otherwise it'll all get soggy!

Serve with a side of syrup and you got yourself some fancy schmancy finger food!

Here's the recipe for both, enjoy!

2014 group shot!

Mini Chicken and Waffles
via PureWow & tasteofhome.com

INGREDIENTS
Makes about 24 pieces

For the chicken
Canola or peanut oil for frying
1 1/4 cups all purpose flour
2 tbs cornstarch
1 teaspoon cayenne pepper
1 tbs dried Italian herb seasoning
2 tsp salt
1 teaspoon freshly ground black pepper
1 cup buttermilk
1 1/2 lbs chicken tenders, cut into bite-sized pieces

For the waffles
2 cups all-purpose flour
3/4 cup sugar
3 1/2 tsp baking powder 
2 eggs, separated 
1 1/2 cups milk
1 cup butter, melted
1 tsp vanilla extract
Syrup for serving

DIRECTIONS

  1. In a deep, medium-size pot, heat about 3 inches of oil over medium heat until it reads 350°F on a thermometer
  2. While the oil heats, make the waffles. In a bowl, combine flour, sugar and baking powder. In another bowl, lightly beat egg yolks. Add milk, butter and vanilla; mix well. Stir into dry ingredients just until combined. Beat egg whites until stiff peaks form; fold into batter. Bake in a preheated waffle iron according to manufacturer's directions until golden brown. Let the waffles cool slightly, then cut them into bite-size (about 1-inch) squares and place them in a 250°F oven to keep warm.
  3. Make the fried chicken: In a medium bowl, whisk the flour with the cornstarch, cayenne pepper, Italian herb seasoning, salt and black pepper to combine. Pour the buttermilk into a shallow, medium-size bowl.
  4. Toss the chicken pieces in the flour mixture to coat. Working in batches, dip the floured chicken into the buttermilk, then return it to the flour and toss to coat.
  5. Working in batches, add the breaded chicken to the hot frying oil. Don’t overfill the pot with chicken, as it will bring down the temperature of the oil. Fry until the chicken is golden brown and floats on the surface of the oil, 3 to 4 minutes. Adjust the heat as needed if the chicken is browning too quickly.
  6. Remove the chicken from the oil and drain on several layers of absorbent paper towels. Let cool slightly, then place a piece of chicken on top of a waffle square and secure with a toothpick. Serve immediately with syrup on the side.

Thursday, December 11, 2014

My Adventures with Annie Sloan

Soooooo I have a new DIY obsession... My wonderfully creative mother introduced me to a line of chalk furniture paint by Annie Sloan.

You see, it all began when my hubby and I had a spot in our apartment that desperately needed some sort of sitting set-up. We happened to stumble upon these horrible-looking chairs (they literally had gold pumpkins painted on them) and figured what the heck, let's see if we can fix 'em up.

Here's the before shot:


Horrifying, right? 

So we took them to my parents house because I figured my mom would be able to help us work some magic. She's painted a whole host of furniture pieces with Annie Sloan's paint (it's become a slight addiction... I can now understand why) and has become quite the expert. 

We picked a soft, neutral color called 'Old Ochre' which we painted the chairs with first. Since they were black originally, it took three coats to completely cover the existing finish. 

The Old Ochre color swatch

Now here's the fun part... Annie Sloan has waxes that you can use to spice up your project. There are endless options as to what you can do with the wax, and it comes in a couple different colors. The most basic is the clear wax which gives the chalky paint a soft, but shiny finish. I chose the more non-conventional option, the dark wax, which makes your piece look a little more aged and adds some fun texture.

Here's a basic video tutorial that shows the technique: 


In the video, they're a little more aggressive with the dark wax... I chose to use less because I didn't want it to look too antique-y.

Here's the finished product! If you look closely you can see the streaks of dark wax on the seat and in the crevices of the wood. 


If you're going to take on a project like this, I also suggest investing in some of Annie Sloan's brushes. They make a huge difference. 

And here are the chairs all set up in our new space:


Tada... I just love it! I have a feeling there will be many more furniture painting projects in our future.

To find a store that sells Annie Sloan paint near you, click here

Happy crafting!


Monday, November 10, 2014

Sausage and Pepper Puff Pastry Cups


Can you believe that it's already November?! I literally switched on my TV the day after Halloween and the first commercial that popped up was for holiday shopping. Seems like the norm by now... which got me thinking that I need to start planning out my holiday shopping strategy... eeeeeeeek...

Anyway, one of my favorite parts of the holiday season is the annual Christmas party that my partner in crime, Jenelle, and I throw each year. You see, it started three years back when we got our first apartment in Hoboken... Theme of 2011: ugly sweaters, clearly.


Then in 2012, we ditched the ugly sweater theme, but still had just as much wonderful, immature fun as we did the previous year...


And in 2013 we upgraded our location to Anthony and my (larger) apartment followed by some late night fun at a local bar... which is where this photo was taken:


This year the event will be held at Anthony and my apartment again, but there is yet another (exciting) change. Rather then the 'Jenelle and Liz Christmas Party' it'll be the 'Wilson and Latino Christmas Party' now that Jenelle and Brendan have tied the knot. The boys will not be attempting any cooking... we've given them the important responsibility of securing the booze.

At each party we have lots of food, and in an effort to get rockin' and rollin' I've started pulling together some fun, new recipes.

First up: Sausage and Pepper Puff Pastry Cups!

Not only are they delicious, but the red and green peppers make them a little festive too.

We started by finely dicing some onions, peppers, and garlic. It's important to finely dice them cause otherwise you'll have trouble putting them in the little cups later on...


See, teeeeeny tiny like this...


Then we take the casing off of 1.5lbs of sweet (or spicy if you're feeling adventurous) Italian sausage...


After removing the casings, add it to a hot sauté pan with two tablespoons of heated olive oil...


Cook the sausage for a little while until it's brown and glorious like so, breaking it up into small bits as you cook it...


Take your sausage bits out of the pan with a slotted spoon. You're going to be left with a sausage fat / olive oil mixture that looks like this...


Drain all of the fat, except for two tablespoons. Then add your peppers, onions, and garlic to the pan...


Once the veggies are nice and tender, add your sausage back in, as well as 1/2 cup of shredded mozzarella cheese...


When your pastry cups are 3/4 way done, take them out of the oven and stuff them with the sausage mixture (I try to get a nice bit of pepper, onion, sausage and cheese into each one). Then sprinkle a little bit of fairy dust (aka Parmesan cheese) on top and put them back into the oven to finish cooking...


And there you have it! A savory, festive, holiday treat!


Let me know what you think!

P.S. - PLEASE NOTE that this recipe makes 48 pastry cups... Enough for a whole party! If you're looking to make less, just half it.

P.P.S. - Love the candle holders in the first picture? Check out Ikea for their holiday decorations! They have some really wonderful things for incredibly low prices (I always walk in their meaning to buy one thing, and then walk out with so much stuff we don't need... but love!)

Sausage and Pepper Puff Pastry Cups

INGREDIENTS
Makes 48 puff pastry cups

48 Frozen Puff Pastry Cups (I used Pepperidge Farms)
1.5lbs sweet or spicy Italian sausage, casing removed
1 cup red bell pepper, finely diced
1 cup green bell pepper, finely diced
1 cup yellow onion, finely diced
3 garlic cloves, minced
2 tablespoons olive oil
1/2 cup shredded mozzarella
1/4 cup grated parmesan cheese
Salt and Pepper

DIRECTIONS

  1. Start out by cooking your puff pastry cups so they're 3/4 the way done and remove from oven (for example, the Pepperidge Farms cups are supposed to be baked for 20 minutes, so bake them for 15 minutes and take them out). 
  2. Heat your olive oil over medium-low heat in a large sauté pan. When the oil is hot, add the sausage and stir occasionally until sausage is cooked through and golden brown. Break up the sausage into little bits as it cooks (see photo above). 
  3. Remove sausage from pan using a slotted spoon, and transfer to a bowl. Reserve two tablespoons of the oil / sausage fat and drain the rest. Return sauté pan to medium-low heat and add the two tablespoons of reserved oil / sausage fat. 
  4. Add the peppers, onions, and garlic to the pan, stirring occasionally for approximately 10 minutes or until the vegetables are tender. 
  5. Once vegetables are tender, add the sausage back to the pan. Sprinkle salt and pepper over the mixture (to taste), and remove pan from the heat. Stir in mozzarella cheese. 
  6. Using a small spoon, divide the mixture among the pastry cups (try and get some sausage, peppers, onions, and cheese in each!) and sprinkle each cup with a dash of parmesan cheese. Return cups to the oven and bake for remaining amount of time (for example, five minutes for the Pepperidge Farms cups). 
  7. When time is up, remove from oven, serve and enjoy! 

Monday, November 3, 2014

BetasBasics on Etsy!

I'm very excited to announce the launch of a little Etsy shop called BetasBasics!

Last year I made these (pretty adorable) glasses for my wedding which ended up being a perfect prop for our morning photos...


And then this year, a friend asked me to make another set for her best friend's wedding... 


Each glass has a pretty little dress hand-painted on it (in your wedding colors of course!), and the date on the back...


Then I hand paint initials / names / letters on the base...


Fun, huh?

You can order champagne flutes, wine glasses, beer mugs, shot glasses and high ball glasses. And these glasses aren't limited to the ladies! There are fun little tuxedo glasses for the dudes, too...


BetasBasics also sells fun items like wedding card holders...


So check it out... And feel free to share with any future brides or grooms!

Sunday, October 26, 2014

Caramelized Banana Butter Cake


This cake is bananas. B-A-N-A-N-A-S.

My husband loves bananas. Banana cream pie... peanut butter, Nutella and banana sandwiches... Bananas Foster... just plain old bananas... I could keep going on and on...

I made this creation especially for him and it's delicious! Not to mention super easy. While homemade cakes are fabulous (as is the feeling of accomplishment that comes along with completing one), boxed cake is just as wonderful and takes so much less effort.

This is a perfect last minute dessert to make for a dinner party. It looks (sorta) fancy and tastes amazing... you wouldn't even know it's from a box! (shhhh... it'll be out little secret!)

So here's how we did the banana cake dance...

I prepared an 9x13 inch sheet cake using any butter cake mix. Pillsbury happens to be my favorite...

Before...

And after... 
While I let the cake completely cool, I made some whipped cream frosting (using this yummy recipe from one of my fave food websites, Food 52). Then I stuck it in the fridge while I started the fun part of the recipe... the 'naners!

First we slice up 3 ripe bananas (but not too ripe or else they'll get really mushy when you cook 'em).


Then we melt some butter in a saute pan.


Once the butter is melted, add your brown sugar and stir until combined. Then add the bananas and a splash of Frangelico to the party ('cause what would a party be without some booze?)


Cook the banana mixture on medium heat until it comes to a slow boil. Stir for five minutes or so, then turn off the heat.

Let your bananas completely cool. I promise you, if you don't let them totally cool you'll be really sad... the whipped cream will melt and the bananas will begin sliding all over the place. And then no pretty cake for you :(

Once they're cool, begin assembling your cake. First ice the whole thing.


And then top it off with the yummy bananas.


There you have it! Told you it was easy!


Carmelized Banana Butter Cake

Ingredients
Makes 1 9-inch cake 

For the cake... 
1 box vanilla golden butter cake mix (check back of box for additional ingredients)

For the icing... 
1/4 cup powdered sugar
2 1/2 teaspoons cornstarch
2 cups heavy whipping cream
1 teaspoon pure vanilla extract

For the bananas... 
3 ripe bananas
1 stick stick unsalted butter
1/2 cup light brown sugar
1 tablespoon Frangelico
  1. Make your cake mix according to directions on back of box for a 9x13 inch sheet cake. Let cool completely. 
  2. Mix your whip cream icing according to the directions here on Food 52's website. Set aside in the refrigerator until ready to assemble cake. 
  3. To make your bananas, begin by slicing up three bananas into quarter-of-an-inch slices. 
  4. Melt one stick of butter in a sauté pan over medium-low heat. Once butter is melted, add brown sugar and stir until combined. Add bananas and frangelico and bring to a slow boil. Stir for 3-5 minutes and remove from heat. Allow banana mixture to cool completely.
  5. To assemble the cake, start by icing the entire sheet. The top with banana mixture. 

Monday, October 20, 2014

Running and Things

Hello and happy Monday!

I had this grand (and rather ambitious) plan to post two new recipes these past two weeks, but unfortunately I failed. Yesterday I spent the day concocting a recipe for caramelized banana butter cake which turned out to be amazing... but I have one teeny tiny change to make before posting, so it'll be up next weekend!

In the meantime, check out last week's recipe for fried broccoli here... It'll forever change the way you view your veggies (ok, maybe I'm exaggerating a little...)

In other news, Anthony and I have been spending lots of time running lately. The Annapolis Running Festival is creeping up on me, and with only a month left to train I need to get my butt in gear! On a side note, if you're looking for a fantabulous (and proven!) marathon training program, I highly recommend Hal Higdon's. He has programs for all different levels for both half and full marathons (and they're free!)... You can find them here on his website.

Fun shoes make for fun runs

Seven miles down... 6.1 to go!

Sunday, October 12, 2014

Fried Broccoli with Horseradish Cream Sauce


This past August I took a trip to Nashville with some lovely ladies for my friend Drew's bachelorette celebration... we had an absolute blast! Nashville is just an awesome city all around... the people are incredibly friendly, the city is quaint and cheery, and live music greets you at every bend.

Drew's crew posing in front of our 'Sproket Rocket' bicycle tour. I thought this was going to be a leisurely 2-hour 'pedal' tour on a bike that's run on a motor... boy, was I mistaken. I sweat the whole time (but so much fun!) 

Monday, September 29, 2014

Beta's Bites is Back!

This. Summer. Was. Crazy.

It's officially almost October and I haven't posted to Beta's Bites in nearly six months... pathetic! Between weddings, vacations, bachelorette parties, and lots of other things, I unfortunately didn't have too much time to post anything fun (I know, excuses excuses)... but we're back!

After what seems to have been be the fastest summer ever, life is finally starting to slow down which means I'll have lots more time to write blog posts.

So stay tuned... I have some exciting stuff planned to hit the ground running in the coming weeks!

The view on my morning runs... In other news, I've begun training for my third half marathon!
Annapolis Half Marathon here I come!

Monday, April 7, 2014

Happy Opening Day!

Today marks one of the happiest days of the year... Opening Day at Yankee Stadium! I have so many fond memories - both old and new - of going to Yankees stadium, and I can't WAIT to get to my first game of the season next week. 

To celebrate, here's a little photo I took last year at my favorite Yankees bar, Stan's. They have this awesome engraved mirror on the wall... 


It's so true...

Tuesday, April 1, 2014

Confetti Tuna Salad Sandwich


Tuna salad is definitely one of those love-or-hate food items. It's right up there with licorice, mushrooms, oysters, and that weird Miracle Whip stuff that I've never tried (so strange).

I happen to be a tuna salad fan, so that's what I'm bringing you today... sorry haters (cough, cough my husband). Similar to my roasted eggplant sandwich, this is another make-ahead-to-bring-to-work staple. In fact, the tuna is even more delicious to eat after it sits in the fridge over night than it is immediately after you make it!

For those of you - like my husband - who'd rather a chicken salad sandwich than a tuna salad sandwich, feel free to sub in one boiled, shredded chicken breast for the tuna. It works just as well (or even better depending on who you ask)! This also can be a great, healthy lunch option... Just sub regular mayo for low-fat or vegan mayo. And, if you're feeling super adventurous, you could even make little lettuce wraps in lieu of bread!

Hope you enjoy!

Confetti Tuna Salad Sandwich

Ingredients
Makes 2 Sandwiches 
  • 1/4 cup red bell pepper, finely diced
  • 1/2 tablespoon of cilantro, minced (I used 1 tablespoon, but I really like cilantro!) 
  • 1 dill pickle, finely diced (I used a spicy dill pickle) 
  • 1 tablespoon red onion, minced
  • 1.5 tablespoons mayonnaise 
  • 1 5 oz. can of solid white albacore tuna in water, drained 
  • Salt and pepper, to taste
  • 4 slices of your favorite bread (I used whole grain) 
Instructions
  1. Stir your bell pepper, cilantro, pickle, red onion, mayonnaise and tuna together in a medium-sized bowl. Add in a dash or two of salt and pepper to taste. 
  2. Divide tuna mixture evenly onto two slices of bread and assemble sandwich. 
  3. Enjoy! 

Monday, March 17, 2014

A Few of My Favorite Things: Kitchen Edition!

Earlier last week, I sent my husband this picture:


Not exactly the most beautiful shot of my kitchen, but Anthony has been in busy season for about 10 weeks now (he's an auditor) and getting home around 1am, so I occasionally send him photos to remind him of what our house looks like in the daylight. I think the caption on this particular picture was: 'look, I cleaned!'

Although it's a little on the smaller side (and I'm just noticing now that the light bulb is out, whoops), I do love our kitchen! It's my special place in our apartment to create, clear my head, and concoct some delicious treats!

There are lots of items in this particular room (many of which are in this picture) that I'm obsessed with. In fact, the other day my friend emailed me to ask if I had a few recommended kitchen items for her to add to her wedding registry... I responded with ehhhhhh about 20 things.

These are a few of my favorite things (Sound of Music, anyone?) in no particular order:

1. Cuisinart's 9 Cup Food Processor: This is like the Samurai sword of food processors. I use it for pesto, bean dips, salsa, pie crust, and about a million other things.

Cuisinart DLC-2009CHB Food Processor, 9-Cup Prep Premier Series
Photo courtesy of Macys.com

2. KitchenAid Ultra Power 4.5 Quart Stand Mixer: My favorite kitchen item. Hands. Down. Yes, it's a mixer, but it does SO many other non-mixer-like things. Plus, I've started collecting some attachments like the pasta maker, which opens up a whole other world of possibilities! My KitchenAid mixer is this beautiful red color, but it literally comes in about every color you could dream of.

KitchenAid Ultra Power 4.5 Qt Stand Mixer
Photo courtesy of Target

3. Everything Le Creuset: If I had endless dollars to spend on cookware, a good portion of it would be spent on Le Creuset. The quality of their products is unbeatable, and it's worth the money (my mom has had her Le Creuset cookware for years and years!). If you're looking for an item to start out with, I'd recommend the Signature Deep Skillet

Image for Signature 11 3/4" Deep Skillet from Le Creuset
Photo courtesy of Le Creuset

4. Counter block: My version is by John McLeod, but I think a good counter block can come in handy in any kitchen. It's large and heavy duty, so you can cut multiple things on it at once (makes life easier when you're cooking chili, for example). Just don't immerse it in water and be sure to buy the oil that goes along with it. Trust me. I learned the hard way that when it's too saturated with water it'll split.

Photo courtesy of Williams Sonoma

5. Wusthof's 7" Santoku Knife: Although it's not your typical 'chef's knife,' this is the knife I grab from the block 95% of the time. The grip is perfect, and it slices and dices quickly and efficiently!

Photo courtesy of chefsresource.com

6. All-Clad Stainless Steel Essential Pan: It's called essential for a reason. This pan can be used to make sauces and stir-fry, to saute, and much much more. It's a great starter pan if you're looking to gradually build a collection of All-Clad (and, similarly to Le Creuset, these last for-ev-er).

All-Clad d5 Stainless-Steel Essential Pan
Photo courtesy of Williams Sonoma

7. Breville Juice Fountain Plus: When Anthony and I were considering a juicer, we didn't want to spend a ton of money because we weren't 100% convinced that we'd use it too often. That being said, we came across this basic model from Breville and figured it was a decent enough price to make the investment. Since purchasing, we use it all the time and it's absolutely worth every penny. 

Breville Juice Fountain Plus
Photo courtesy of Williams Sonoma

8. Brushed Stainless Steel Spice Rack: Because you need to organize your spices. It'll change your life.  

Brushed Stainless-Steel Spice Rack
Photo courtesy of Williams Sonoma

9. unwind candles: These candles are made of soy wax and are crafted in recycled wine bottles. My favorite is their 'teakwood' scent. It smells like an amazing mix of musty cologne and the beach... I love it so much that there's one in our kitchen and in our bedroom :) 

Teakwood Candle
Photo courtesy of unwined

10. Storage jars: I bought 5 of these jars in all different sizes from Ikea to keep on the counter. They're filled with ingredients that I use a lot in order to save me the effort of having to take stuff in and out of the pantry constantly (e.g. flour, sugar, salt, brown sugar, etc.). Best part about this purchase? Even the largest jar is under $5!

KORKEN Jar with lid IKEA The jar has an airtight seal, which makes it perfect for preserving your favorite homemade jams and jellies.
Photo courtesy of Ikea

11. Keurig Storage Drawer: I always thought that the K-Cup carousel was the most adorable thing to store your coffee... until I realized that it takes up way too much space on an apartment counter top. This storage drawer was the perfect solution! It fits 36 cups and goes right underneath the coffee maker... Leaving you with plenty of extra counter space for other things (like your spice rack, right?) 

Nifty 36 Capacity Under-the-Brewer Drawer for K-Cup®
Photo courtesy of Target

I could go on for days, but I'll stop at 11 for now. There's definitely going to be a 'favorite things kitchen edition' round two in the future. 

Happy St. Patrick's Day... Have a wonderful week!